Covered in more details near or in the last page.
Until Lee decides to make a 450 Bushmaster Factory Crimp Die, we are stuck with modifying their .45-70 FCD die to work with the 450b. Doing so is not difficult if you, or someone you are on good terms with, have a metal-working lathe. Take heart. I will attempt to explain to you how to do a quality job with a drill press, some other common tools and a little ingenuity. "But Hoot, I don't have a drill press either," you cry. Odds are even better that you are on good terms with someone who does, than the lathe. Truth be told. If you have a helper with a steady hand and good communication skills, you can probably pull this off with a hand drill, but you'll be relying more on good fortune than with the drill press.
Before I begin, I must apologize for some of the photos. I took all of them without checking them on a screen bigger than the little one on the back of the camera, did the mod and only then realized a few were less than stellar. Luckily, there are only a few of those kinds in the fray.
Off we go...

Sorry, couldn't resist starting with a little humor
OK, we'll start off with what you'll need:
1. A Lee .45-70 Factory Crimp Die
2. An empty .300 Win Mag case. Any brand
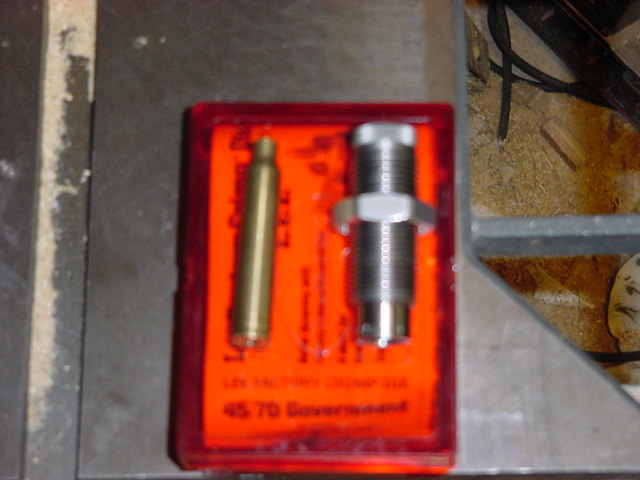
yeah, it's blurry...
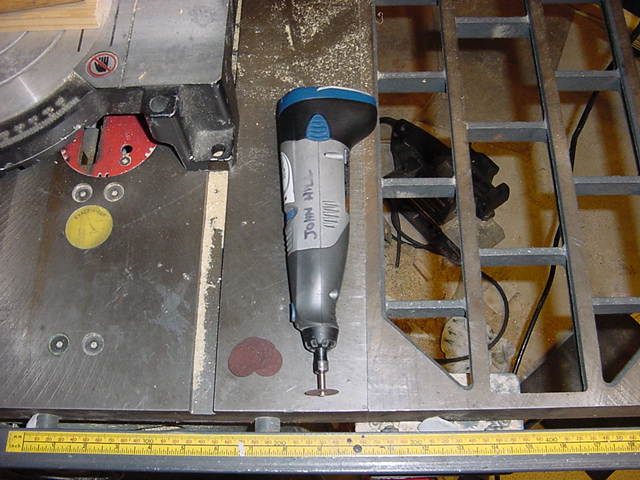
3. A drill press, but you already knew that. Or, a hand drill, steady assistant and good fortune.
4. A decent rotary tool like a Dremel Moto-Tool.
5. Thin (1/32") cutoff disks and mandrel. The thicker ones work but have a harder go of it.
6. A buffing wheel, or buffing fobs for your Dremel and some buffing compound.
7. A piece of 3M Scotchbrite pad, or some wet-or-dry silicon carbide paper.
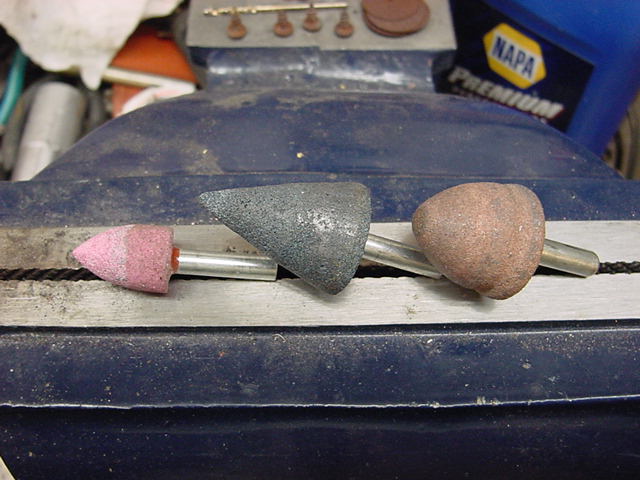
8. A tapered grinding stone ~45 degrees, with a shank that fits your drill press or hand drill. Tip: They can be dressed when the get dirty, scored, or to adjust the angle with a grinding wheel.
9. Some decent electrical tape like 3M Scotch 33+.
10. A vise, drift hammer and sturdy, solid, flat surface.
11. A good assortment of sockets
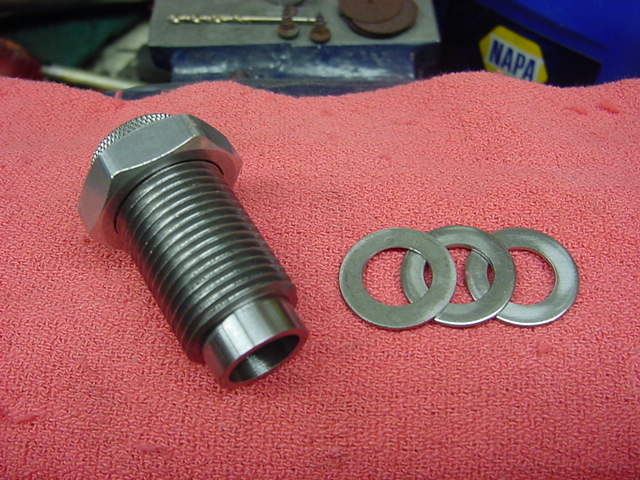
12. Some 3/8" flat washers. I prefer stainless steel.
Preparation
Remove the nitrile o-ring and set nut from the FCD. Put the set nut back on, upside down.
Lay out a line of the electrical tape about a foot long, straight on a clean surface.
Mark the tape with a ruler at 1/2" width and cut it with a razor blade, x-acto or sharp utility knife.

Secure the die in a padded vise or stand on a padded firm surface with the knurled end up.
Using the hammer, gently tap the .300 Win Mag case into the die until firmly seated. Leave enough sticking out to chuck into your drill.
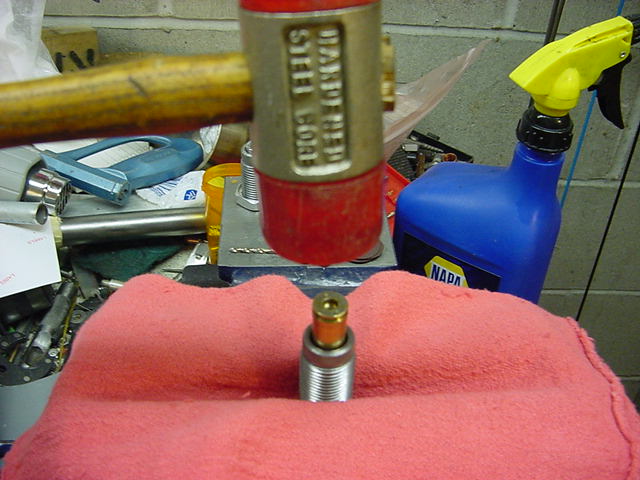
Take a length of the 1/2" tape and aligning one edge with the end of the threaded portion of the die, lay several turns on to create a 1/2" cutting guide.
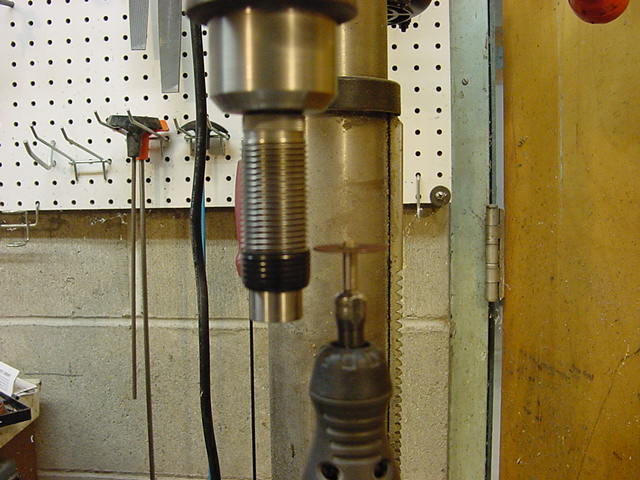
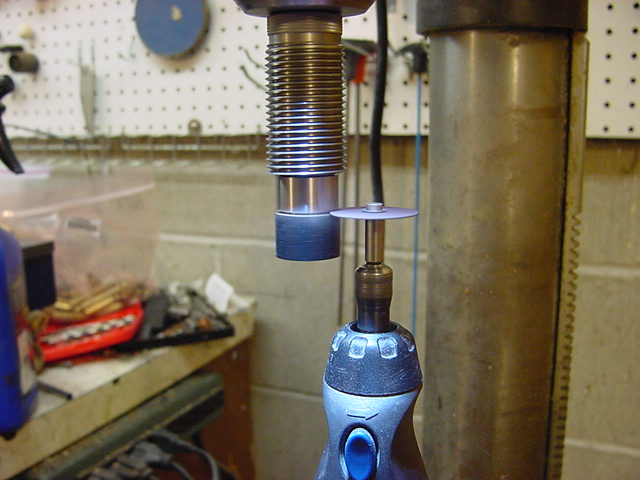
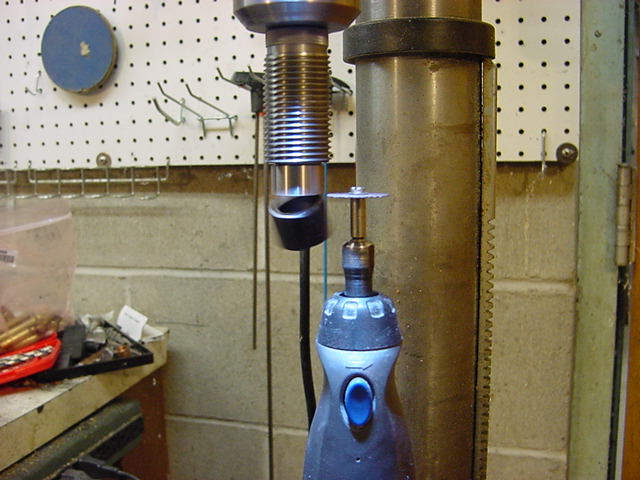
Chuck the .300 win mag in the drill as far as it will go. Set the drill at the slowest speed possible. It's only turning the die to get even cutting all around. Here is where the cordless Dremel shines. Because it has a flat base, you can stand it up on end on top of the drill shelf. Set the shelf height so the Dremel cut-off wheel is close to where you want to cut the die and adjust the drill quill the last little bit to get it lined up just right. Now, for those of you who's Dremel doesn't have a flat base, you can still do this, but it's not as easy. In the case of the flat base Dremel, spin it up as fast as it'll go and slowly ease it into the slowly spinning die. It's imperative to let the wheel do the work, maintaining a light pressure against the die. You will slowly, cleanly cut through it.
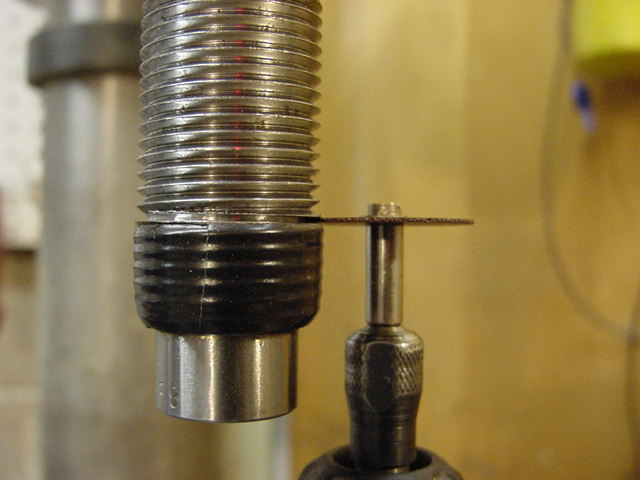
The wheel wears as you go. That's OK. It took a total of 2 to do each part. The other reason to go slow is that you don't cut past the die shank and into the collet piece, not that it matters in terms of functionality. Just a matter of pride. If you're going slowly, once you separate the shank, it'll drop away in time for you to stop cutting any further.
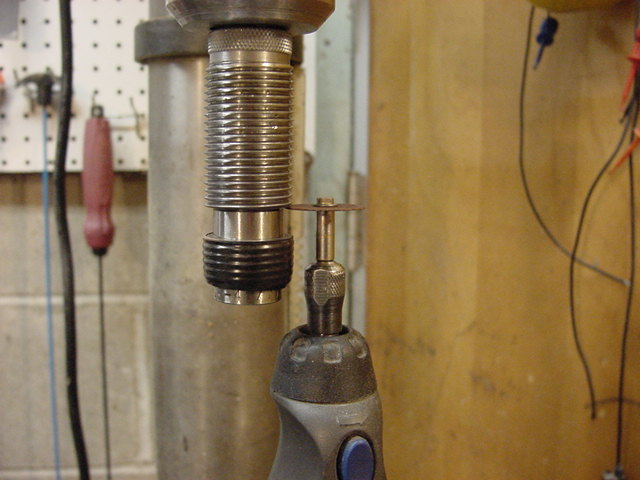
Now, tape off the collet piece just like you did the shank. Spin everything up again and repeat the process.
It'll drop away just like the piece of threaded shank did.
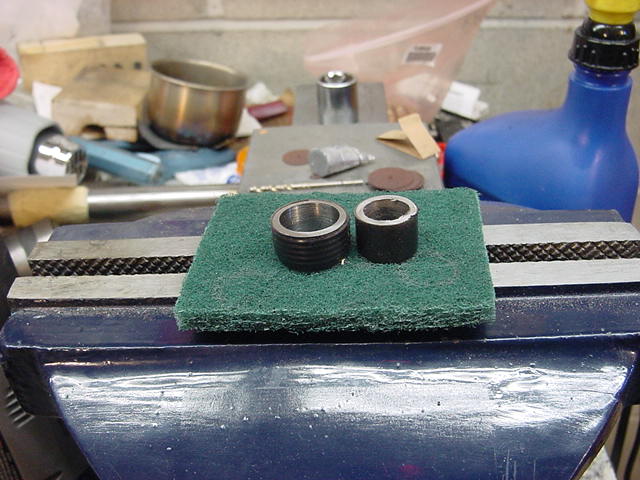
The two 1/2" cut off pieces will look like this
Now getting back for a moment to you not having a flat bottomed Dremel. I also have a corded rotary tool with the cord coming out the bottom. I have used it to cut off projects in the past using the same method as the die. It requires a cool hand, a keen eye and patience. Basically lower the drill shelf so that with you holding the Dremel in both hands like a baseball bat, you can rest those hands on the shelf and the cut-off wheel lines up with the tape mark. You got to concentrate on keeping the Dremel perpendicular to the shelf and slowly slide it into the spinning die. It's not as hard as you think to get right. If you lack confidence, chuck a scrap piece of pipe or rod into the drill and practice on it. Again, let the wheel do the work. Steadiness and alignment are far more important than sheer power. The more places you can rest your body, elbows and hands against while you work, the easier it'll be to keep things straight.
So, now you've got the two main cuts done. Take that piece of Scotchbrite pad and with the drill spinning, press firmly up against the freshly cut collet bottom, checking until the inside and outside edges are burr free and not sharp enough to cut you.
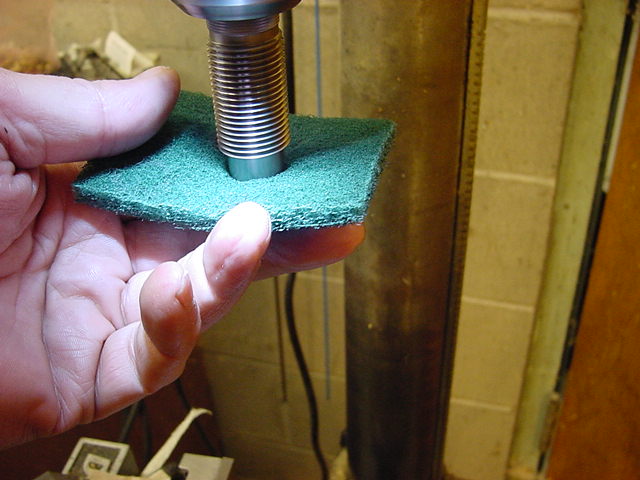
The collet will be nice and smooth. I'll address how I smoothed the threaded shank in a moment.
Depending upon your ultimate goal, you could quit right there. Your die will place a good crimp just below the mouth of the case and the width that Lee originally intended it to be.
If you want the crimp lower, with the option to raise it using spacer washers, when you tape off the collet, instead of using 1/2" cut tape, use the full width of the tape ~3/4".
Some folks like a narrower crimp. If you want your crimp to be narrower, regardless of where it is located, there are a few more steps to perform.
First, you're going to have to separate the collet from the threaded shank. You need to select a couple of your sockets. One that is just narrow enough to slide into the knurled end of the threaded shank. The closer the tolerance, the better. The other socket should be large enough in diameter so as to allow the threaded end of the shank to slip into it.
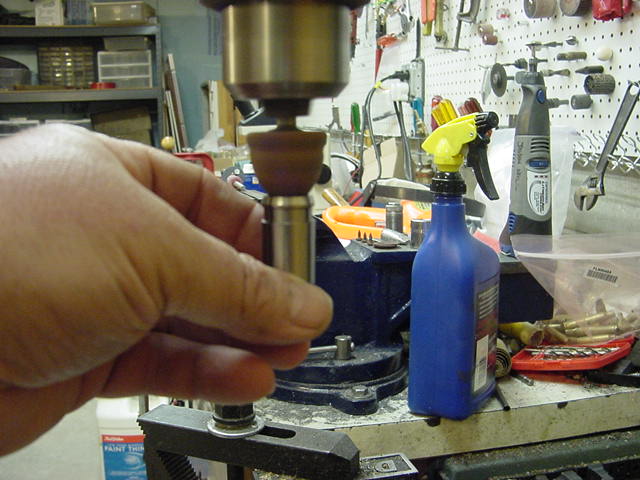
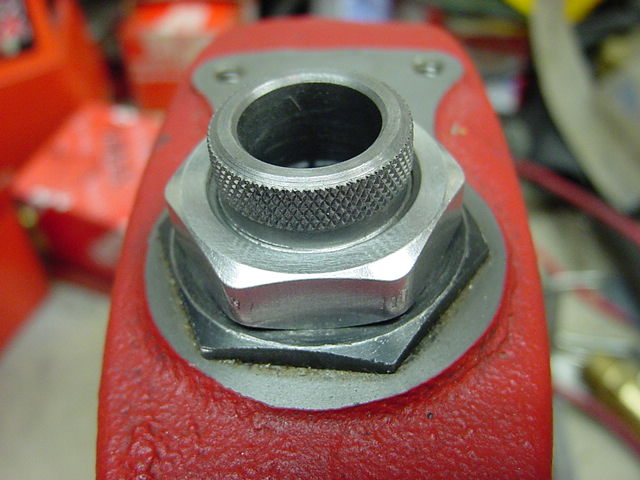
Before continuing, reach in the knurled end with an oiler and put some oil on the collet fingers to lubricate them when you go to pop it out. Put the set nut back on the die upside down, just enough turns to expose one or two threads at the end. That allows the threaded shank to center inside the socket, while the nut restricts its insertion depth. Mated up, they will look like this.
Now some folks have had success pounding the collet out with a hammer. I was concerned with marring the finger ends, so I chose to use a vise and press it out. Open your vise just far enough to allow you to slip in the die and two sockets. Make sure to keep everything aligned and tighten the vise enough to hold them in place.
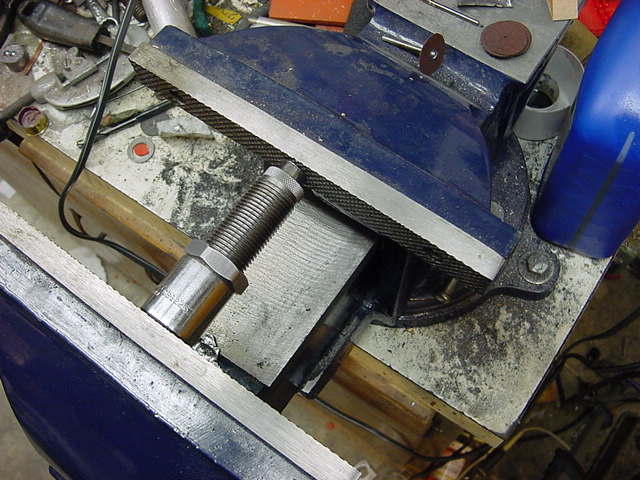
Place a rag beneath the die to catch it, should it fall once the collet pops free. Slowly tighten the vise and you will both hear and see the pop. Remove the die and sockets from the vise and set aside the larger socket. With the smaller one still in the knurled end and holding the die in your hand, tap on the smaller socket with a hammer and drive out the collet the rest of the way. It won't take much since friction is all that is holding it in.

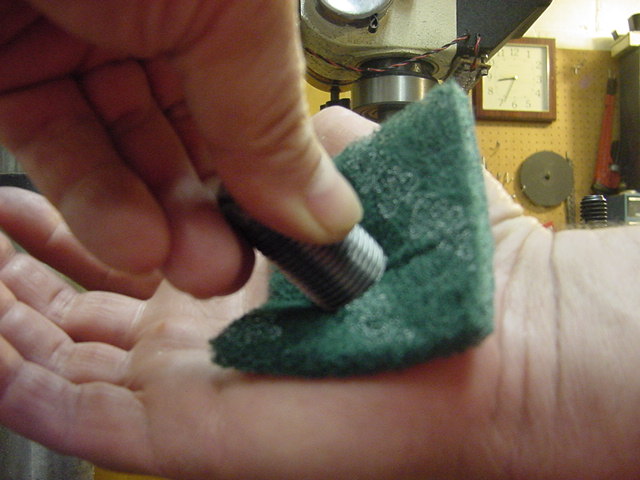
Take that piece of Scotchbrite pad or wet-or-dry sandpaper with block and place it in you palm. Holding the threaded shank in your other hand, press the cut edge of the shank firmly against the Scotchbrite pad or paper and rotate it back and forth until any burrs are removed and the edges are not sharp enough to cut you.
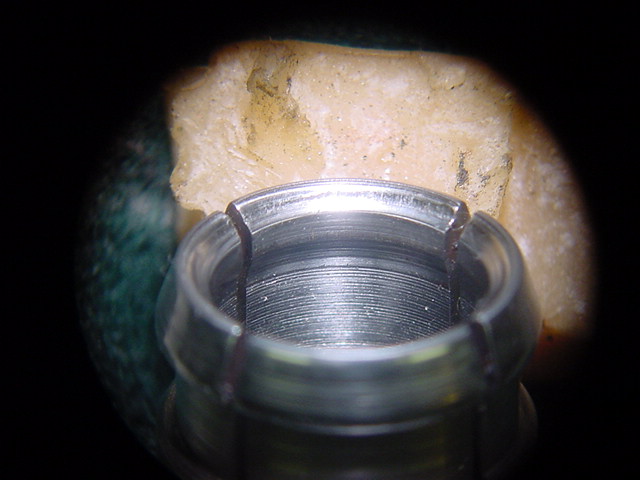
Set threaded shank aside. Now if you want to have a narrower crimp ridge, continue. Otherwise you can skip the next few steps. The original collet fingers look like this. Notice the factory isn't too fussy about the finish, but consider the price.

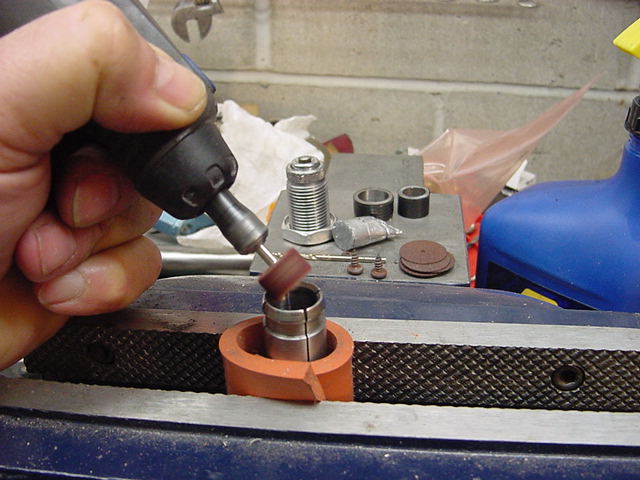
Chuck the tapered stone in the drill. With the speed still slow, you're going to be feeding the finger end of the collet up around the stone to grind off some of the crimp ridge at an ~45 degree angle. Feel this out without the drill running first, to get a feel for what you're going to do with attention to keeping the collet as straight as possible. Now, turn on the drill and give it a short burst of grinding like this:
After the short burst, look at the effect it had to get an idea of how long this is going to take. Like the cut-off wheel earlier, go slow and let the stone do the job. Depending upon the porosity of the stone, you can put oil on it to carry away the displaced grit and metal. Clean off the residue from the stone and collet each time you stop to inspect your progress. When you achieve the ridge width you like, stop grinding and clean off any remaining residue and oil if used, with some solvent.
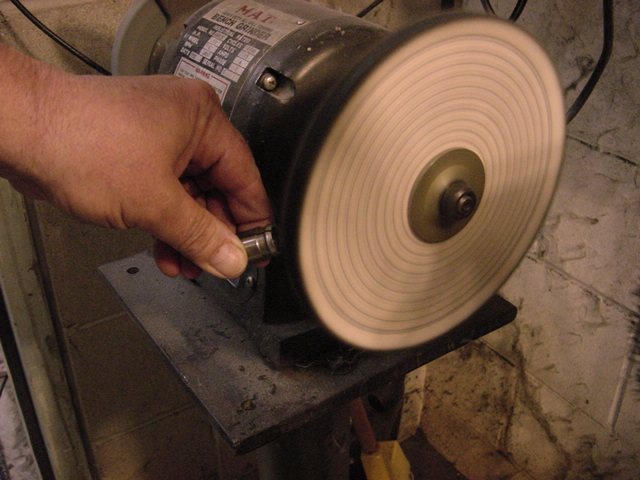
If you don't have a buffing wheel, you can use your Dremel, some buffing fobs and polishing compound to smooth off the inside and outside of the fingers. It will however take a lot more time to accomplish the desired finish as opposed to a buffing wheel.
If you have a buffing wheel, I assume you know how to use it effectively. Load it up and lightly polish the outside of the finger ends. The less rough they are, the less pressure it'll take in the reloading press to make them constrict on the case. They don't have to be a mirror finish. We're just doing this since we have the collet already out. No different then some people who polish the inside of their dies. It's also give you a feel for how buffing the collet in the next step will go.

Now, using the edges of the buffing wheel, you're going to angle the collet so they buff the inside where you ground away the ridge at an ~45 degree angle. Again, no need to get a perfect mirror finish. You don't want to over-polish and reduce the height of the ridge too much.
Once you have it buffed, it should look like this.
Now, regardless of whether you went with the original width or narrower crimp ridge, you're done. Clean both halves thoroughly. With a q-tip, reach inside the threaded shank and apply a light amount of quality grease in the channel where the collet fingers lock and press the collet back into the shank until it pops back into place.
Let's try it out.
At this point, I must mention a minor issue I and I'm sure others who have done this mod have discovered. The original caliber this die was intended for resulted in its dimensions being proper to fit the press with length left for the set nut and friction o-ring. Since we are shortening everything to accommodate the 450b, we deviate from those optimum dimensions. When the die is adjusted for total finger closure at the ram's upstroke, the die rides fairly low and you're just about out of thread for the set nut to work with.
Now, if you elect to shorten the collet even more to move the crimp further down the case, you have to screw the die farther into the press for it to meet up with the ram and fully actuate the fingers. At that point, you don't have much shank thread left for the aluminum set nut to bite on and if you try to crank that nut tight, it will strip.

The set nut is manufactured to capture the friction o-ring and as such, the threads on that side don't begin right away compared to the other side.
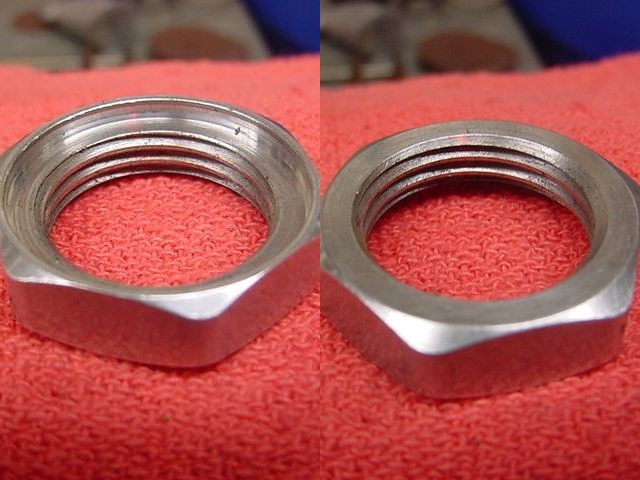
By turning the nut upside down relative to its original intent, you gain another turn or two, but it's still inviting problems if you try to crank it too tight. One solution would be to replace it with a steel nut from some other die, or just hand-tighten it. In use, it doesn't want to move all that much, so you can experiment with the amount of force needed to keep it from moving.

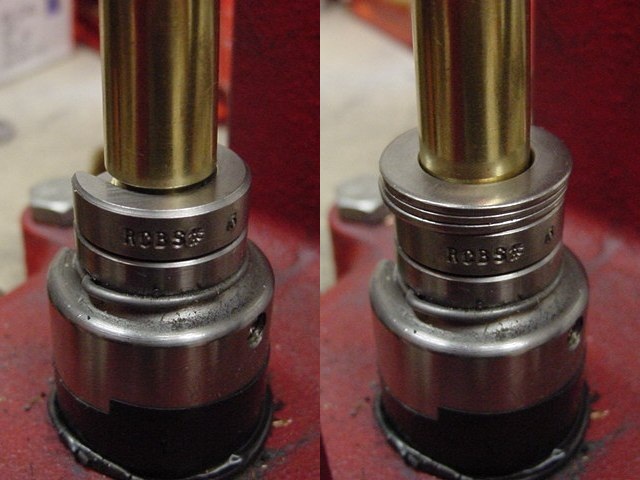
Here, you can see the resultant lower, thinner crimp.

To move the crimp up the case, you simply place the spacer washers you made around the case base before cycling the ram.
As long as you're not playing "Beat the clock" with your reloading process, it isn't too burdensome to add and remove the spacers each round. You can improve on the speed by making a single spacer for the crimp location you use frequently by cutting a short piece of pipe or tubing of the proper ID, or by drilling out a disk cut from some rod stock.
Making enough spacer washers is our last step. Supporting a washer from below, clamp it in your drilling vise. Using a step-bit drill, open it up just enough to clear the diameter of the cartridge. Flip it over and chase off the burr with the bit. Here's my setup, but your options on this are entirely up to your own ingenuity.

They'll end up looking like this. Even if they're not perfectly centered, they still work.

If you got this far, I hope this "How-To" is some help. You should end up with a professional looking product that works as well as it looks.
A special Thanks to thebrassnuckles for sending an un-modded FCD to document and write this thread.
Humbly submitted
Hoot